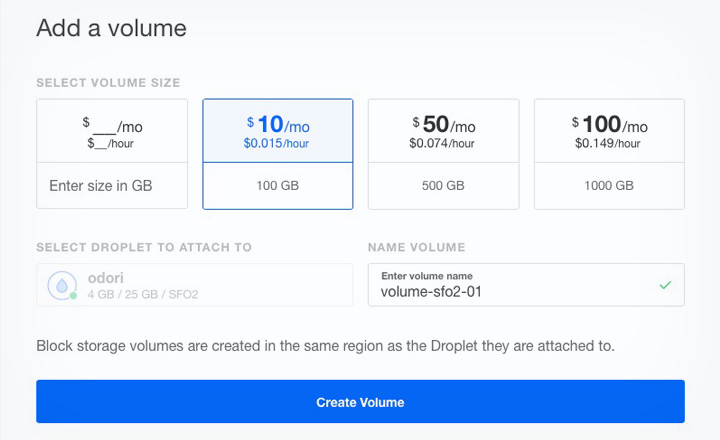
Official DigitalOcean docs were a bit too lengthy for me.
So this is a much simpler, and quicker guide for creating, formatting and mounting new DigitalOcean volumes, with step-by-step copy/paste instructions.

Replace all instances of “new-do-volume” with assigned name of your volume.
Step 1. Format the volume with ext4;
sudo mkfs.ext4 -F /dev/disk/by-id/scsi-0DO_Volume_new-do-volume
Step 2. Create a mount point wherever you want;
sudo mkdir -p /mnt/volume
Step 3. Mount the volume;
sudo mount -o discard,defaults /dev/disk/by-id/scsi-0DO_Volume_new-do-volume/mnt/volume
Step 4. Change fstab so the volume will be mounted after a reboot;
echo /dev/disk/by-id/scsi-0DO_Volume_new-do-volume /mnt/volume ext4 defaults,nofail,discard 0 0 | sudo tee -a /etc/fstab
Step 5. Change ownership as desired;
sudo chown -R user:user /mnt/volume
The volume is now accessible at /mnt/volume or wherever you want to place it, and you are able to write files and store data as user and group settings permit.
Done! Enjoy DigitalOcean.
Questions or comments?
Please, leave them in the field below.
Dave Walls